
Eight Bowls, Four Coffees, One Saturday Morning
Прочети на български
Professional coffee cupping looks like a chemistry exam. Lab coats. Silver spoons. Clipboards. Silence broken only by aggressive slurping that sounds like a drain clearing. The whole setup seems designed to make you feel unqualified to taste your own coffee.
Strip away the performance, and what remains is simpler: people tasting coffee together. The same thing that happens with wine flights or craft beer samplers, except with beans instead of grapes or hops.
In Sofia, specialty coffee has grown quietly over the past decade. Roasters like Aroma Coffee are sourcing green beans and roasting with intention, each coffee carrying a distinct character worth exploring. But most people experience these coffees as a rushed transaction at a cafe counter, a flat white ordered while checking emails, consumed while walking to the next thing. A home tasting is the opposite of that. It is a deliberate pause, a Saturday morning ritual that asks nothing except attention.
Why Cupping Tells the Truth
Paper filters clean up coffee. They trap oils, hide flaws, smooth rough edges. A V60 or batch brew can make a mediocre bean taste acceptable.
Cupping removes that safety net. It is just water and coffee in a bowl, fighting it out. According to CoffeeGeek's guide, this is raw data: you taste the coffee exactly as it is, without any brewing technique to save or ruin it. The honesty is the point. And that honesty is what makes it worth doing together.
The Setup: Consistency Over Gear
The equipment list is shorter than you think. Eight small bowls (170-200ml each), six to eight deep spoons, a kettle, a burr grinder, a scale, and a timer. Total cost: around €90. Most of it you already own.
The bowls can be ceramic ramekins or small soup bowls from a discount store. The spoons can be thrift-store soup spoons. The kettle just needs to be large enough to pour eight bowls without refilling. The only place where quality matters is the grinder: blade grinders create too much dust, which makes the coffee taste bitter and muddy. A decent hand grinder works fine.
For the coffee itself, contrast is everything. Four bags from a local roaster, each distinct:
- A washed Ethiopian or Kenyan (bright, citrus, floral)
- A natural process coffee (jammy, fruity, heavy)
- A classic Latin American like Colombian or Guatemalan (chocolate, nuts, caramel)
- A wild card, maybe a dark roast or an anaerobic fermentation if you want to see someone scrunch their face
The ratio stays constant: 10 grams of coffee per 170-180ml of water. Grind coarse, like sea salt. Water temperature around 93°C, just a minute or two off the boil.
The Process: Smell, Wait, Slurp
Weigh the grounds into each bowl. Before adding water, smell the dry coffee. This is often where the aromatics are most potent.
Pour the water gently, saturating all the grounds.
A crust of coffee will form on the surface, trapping gases. Wait four minutes.
At the four-minute mark, put your nose close to the bowl, close enough that you could snorkel in it, and push a spoon through the crust, stirring gently three times. The trapped gases release in a burst. The aroma might be completely different from the dry grounds. Rinse your spoon between every bowl.
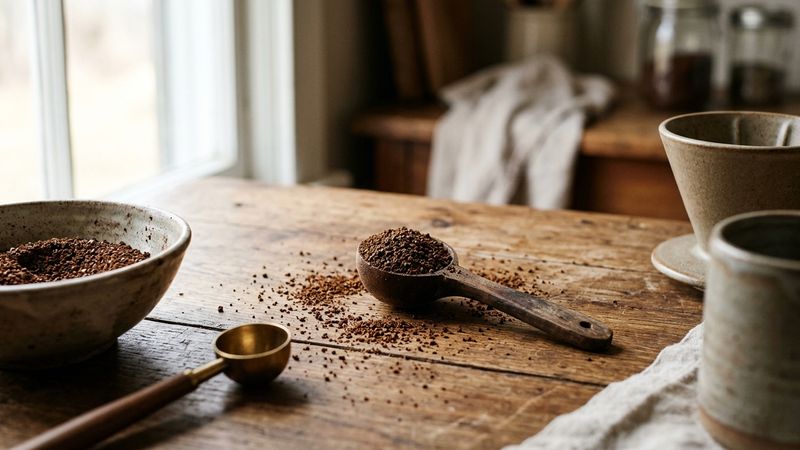
Skim the remaining foam off the surface with two spoons. Wait another two minutes for the coffee to cool. Then taste.
The slurping is non-negotiable. There is no way to look dignified doing it. You have to aspirate the liquid to spray it across your palate, a sound like a drain unclogging. That aeration is the only way to get the aromatics to hit your olfactory system properly. If your friends are not laughing at the noise, you are not doing it right.
The Conversation Is the Point
Professional cuppers taste in silence to avoid influencing each other. You are not professionals.
Part of the value is watching someone taste the anaerobic and announce that it tastes like red wine and blueberry jam had a baby. Let that happen. Talk, argue, compare notes in real time. The goal is not a score. It is curiosity.
And keep going back to the bowls. Coffee changes dramatically as it cools. Something thin and aggressive when hot can turn silky and sweet at room temperature. The coffee you dismissed early might steal the whole session by the end.
Frequently Asked Questions
Q: What equipment do I actually need for a home coffee tasting?
A: Eight small bowls (170-200ml each), six to eight deep spoons, a 1.5-2L kettle, a burr grinder, a scale, and a timer. Total cost is around €90, and most items can be found at discount stores or thrift shops.
Q: How long does a home coffee cupping session take?
A: Plan for about two hours. The brewing and initial tasting takes 30-40 minutes, but the real value comes from continuing to taste as the coffee cools, which reveals different flavors at different temperatures.
Q: Do I need to use a scoring sheet for a home tasting?
A: No. Professional scoring sheets are designed for quality control, not discovery. For a home tasting, conversation and comparison are more valuable than numbers. If you want structure, simply note which coffees you prefer and why.
The Flaneur